Make your photo dance with AI: what to know before
 Wipe Me Down Dance AI Team
What the model carries over from one photo, how lighting and framing change the result, why one subject beats a group, and how to use an old photo or a pet.
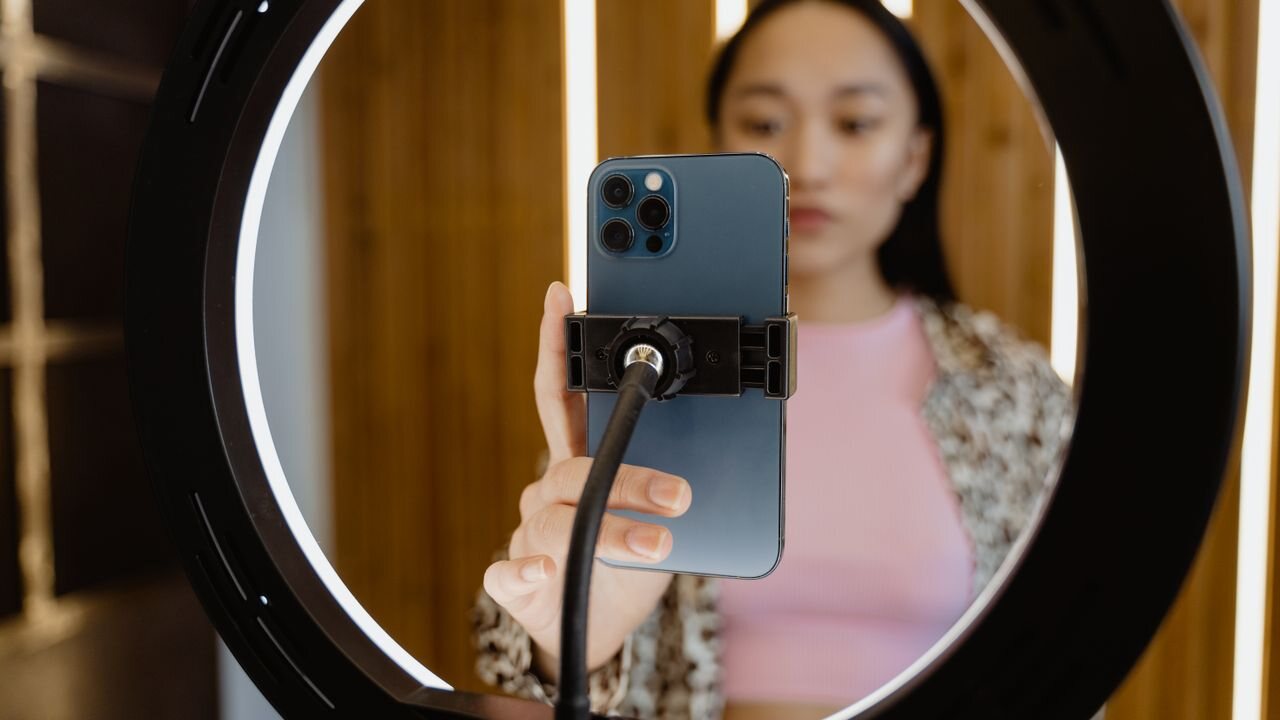
Making your photo dance with AI means handing one still image to the studio, keeping the four looks the way they ship or editing the prompt text, and letting the model build a brand new dance performance around the person in the frame. The model carries the face, hair, body shape and clothing over from your file and animates a short clip in which those details stay recognisable. Because the photo is the stronger of the two inputs you control, it decides more about the output than any setting does. This guide explains what survives the render, how light and framing change it, and how to get a good result from a photo you already have.
What the model carries over from your photo
In photo mode the image acts as an identity constraint. It is not a filter laid over a template clip, and it is not a switch that swaps your face onto another dancer. The model keeps the traits it can read from the file and holds them steady while it generates new motion.
| What it carries | How faithful it is | What improves it | | --------------------------------- | ------------------------------------------------------- | ----------------------------------------------------------- | | Face shape and features | High, when the face is sharp and unobscured | Front or three-quarter angle, eyes visible, no heavy shadow | | Hair, including length and colour | High, if the whole outline of the hair is in frame | Leave headroom above the head | | Body shape and proportions | Moderate, mostly read from the visible torso | Keep the upper body unoccluded, avoid very tight crops | | Clothing colour and style | Moderate, strongest on simple fabrics and solid colours | Avoid busy prints, which drift over a clip | | Background environment | Low, the model usually rebuilds it | Describe the setting you want in the prompt text |
The pattern is simple: what the photo shows clearly, the render keeps. What the photo hides, the model guesses, and a guess in a twelve second clip tends to change shape partway through. If a detail matters to you, either show it in the file or state it in the prompt text.
Lighting and framing in the source photo
Light and framing are the two properties that most often make the difference between a render that looks like your photo and one that looks like a stranger.
Light direction
Even, diffuse light is the safest input. Window light on an overcast day, or a bright room with no strong directional lamp, gives the model a face it can read from every angle. Hard side light produces a dramatic still and a confusing clip, because as the animated body turns, the shadow in the source does not turn with it and the model has to reconcile the two. Backlighting is the worst case: if the face is in shadow, the render produces a face with the same lost detail. If you can only use one photo and it is badly lit, a gentle correction to the exposure before upload helps more than any word you could add.
Framing and headroom
Frame the subject from roughly the chest up or from head to knees, with a little space above the head and to the sides. The model needs room to move the figure without pushing it out of the frame, and it needs pixels on the face. A photo where the head is cut off at the crown removes the top of the silhouette, and a photo where the subject is small in a wide shot gives the face too few pixels to preserve. Both cases push the render toward a generic result.
Background
The background is the least transmitted element. A plain wall, a street, a room with a single lamp: any of these reads clearly enough for the model to keep the mood, while a cluttered background with twenty objects will be simplified anyway. Describing the setting in the prompt text is more reliable than hoping the model notices it in the photo.
Why one subject beats a group shot
A group photo is the most common reason a render comes back looking off. When three people stand together, the model has to decide who dances, then divide its motion budget between the figures it keeps, and the result is often a half-animated group with merged or duplicated limbs. Two subjects also double the number of faces it must hold, which weakens the identity constraint for each of them.
The practical rule is one subject per render. If you want two people in the final video, render two clips from two separate photos and cut them together in an editor, which also keeps costs predictable because each clip is charged on its own spec. Cropping a group photo down to a single person before upload is a legitimate fix, as long as the crop leaves the whole head and the upper body visible.
Angle and distance
Angle determines what the model knows about the body, and distance determines how much detail it has to work with.
A front-facing or three-quarter view of a standing or seated subject is the most flexible input, because both shoulders and both sides of the head are visible and the face is readable. A full profile view hides half the face and forces the model to reconstruct it as soon as the animated body turns toward camera. A steep low angle or an extreme high angle distorts proportions before the render even starts, and the distortion carries through.
On distance, closer is better up to a point. Chest-up to head-to-knee is the sweet spot. A full body shot on a phone, where the subject occupies a third of the frame, is workable but leaves less face detail. If you are shooting specifically for this, stand two or three metres away, shoot at the subject's eye level, take five frames, and pick the sharpest one in which the eyes are open and unobscured.
Old and low-resolution photos
Older files still work, with caveats. What matters is not the date but the amount of usable detail in the face and the state of the image.
A scanned or archival photo with visible grain will produce a render with the same softness, because the model treats the grain as part of the subject. A heavily compressed photo, for example a screenshot of a message thread, arrives with blocky artefacts around the eyes and mouth that the render faithfully animates. A photograph of a printed photograph, complete with the paper's texture and a flash reflection, hands the model a subject with two sets of lighting on it.
The fixes are modest and effective: crop to the subject and upscale the crop if you have a tool that does a clean job, correct obvious colour casts, and remove heavy artefacts before upload rather than after. Do not over-smooth the face, though, because a plastic-looking source produces a plastic-looking render. Restoring detail to a low-resolution file has more value than adding detail that was never there; the walkthrough in the photo-and-dance explainer covers the same upload rules in the context of the trend itself.
Photo problems and what the render does
Use this table before you upload, not after a render disappoints you.
| Photo problem | What the render tends to do | | ------------------------------------- | ---------------------------------------------------------------- | | Motion blur on the face | Soft features that shift slightly across the clip | | Face in hard shadow or backlit | Lost facial detail, flatter and less recognisable | | Two or more people in frame | Extra figures, merged limbs, or attention split between subjects | | Subject small in a wide shot | Generic face, low resemblance, drifting proportions | | Head cropped at the crown | Unstable hair outline and occasional head distortion | | Busy patterned clothing | Pattern becomes noise or slowly changes colour | | Screenshot or heavily compressed file | Compression artefacts animated as part of the subject | | Very tight crop on the face only | Body proportions guessed, arms can appear malformed |
The cheapest way to test any of these is a 5 second clip at 480p for 5 credits. Once a photo passes that test, a 720p default render at 10 credits is worth spending, and the 1080p rate of 60 credits is for the attempts you are already confident in.
Pets, characters and non-portrait photos
The same image-to-video path handles an animal, an illustration or a character render, with one change worth making: the identity clause. For a pet, ask the render to keep the fur, the face and any markings as supplied, since those are what makes the animal recognisably yours. Shots where the animal's head and full body are clearly separated from the background work best, and a low static camera reads naturally. The specific prompts and pose advice for animals are collected in the pets guide.
Illustrated or cartoon sources are a different case. The model will hold a drawn style, but the output is still generated video, so expect the line work to breathe slightly in motion. That is a normal property of generated clips rather than a fault in your file.
What one photo cannot give the model
Two limits are worth knowing before you spend credits, because neither is fixed by a better source file.
There is no video input and no motion transfer. You cannot upload a clip of someone dancing and ask the model to apply that routine to your photo. The studio takes one still image or a typed description, at least 10 and at most 2,000 characters in text mode, and generates a new performance from it.
There is also no celebrity or real-person face swapping, no public gallery of other users' renders, no watermark-removal feature, no unlimited plan and no app to install. The gallery shown on the site is just the studio's four looks, renders are private to your account, and a failed render returns its credits to the balance they came from.
Getting from photo to finished clip
The route from here is short: open the studio, upload one JPG, PNG or WebP file up to 10 MB, pick one of the four looks, set the spec, and press generate. A default render is Standard, 720p, 12 seconds for 10 credits, and most take a couple of minutes. Keep the source photo and the prompt text together so a second attempt is a controlled change rather than a fresh guess. The full sequence, including what to do when a render comes back wrong, is in the step-by-step guide, and prompt phrasing that holds up across photos is in the prompt library. Credit totals for plans and one-time packs are on the pricing page.
Frequently asked questions
Which photo should I use?
Choose the sharpest file you have in which one subject is clearly lit, facing the camera or turned slightly, with the head and shoulders fully in frame and no second person overlapping them. Occasion matters less than clarity; a well-lit phone snapshot beats a soft studio shot in which the face is dark.
Will it keep my face exactly?
It keeps the face recognisably, and the level of fidelity follows the photo. A sharp, evenly lit, front-facing image holds up best. Extreme angles, heavy shadow and motion blur all reduce how much of your face survives into the animation, which is why the source file matters more than the settings.
Can I upload a photo of two people?
You can, but expect the render to split its attention, and you may see merged or duplicated limbs. Cropping to one person per render, then cutting the clips together afterwards, produces a much cleaner result and keeps the credit cost predictable.
Does it work with an old or low-resolution photo?
Yes, with lower fidelity. Crop to the subject, correct obvious colour problems and clean up compression artefacts before uploading, and avoid over-smoothing the face. If the file only contains the face, expect the model to guess the body proportions, sometimes with odd-looking arms.
Can I use a photo of my pet or a drawing?
Yes. Animals, illustrations and characters all run through the same image-to-video path. For a pet, ask the prompt to keep the fur, face and markings as supplied, and shoot with the animal's head and body clearly separated from the background.
Can I make a photo recreate a dance from a video?
No. There is no video input and no motion transfer from a reference clip, so the render cannot copy a recorded routine. What it produces is a new AI performance based on your photo and your written direction.