Pet Photo to Wipe Me Down Dance: Dog & Cat Guide
 Wipe Me Down Dance AI Team
How to choose a dog or cat photo for Wipe Me Down Dance AI, which studio look suits your animal, the realistic limits to expect, and what a render costs.
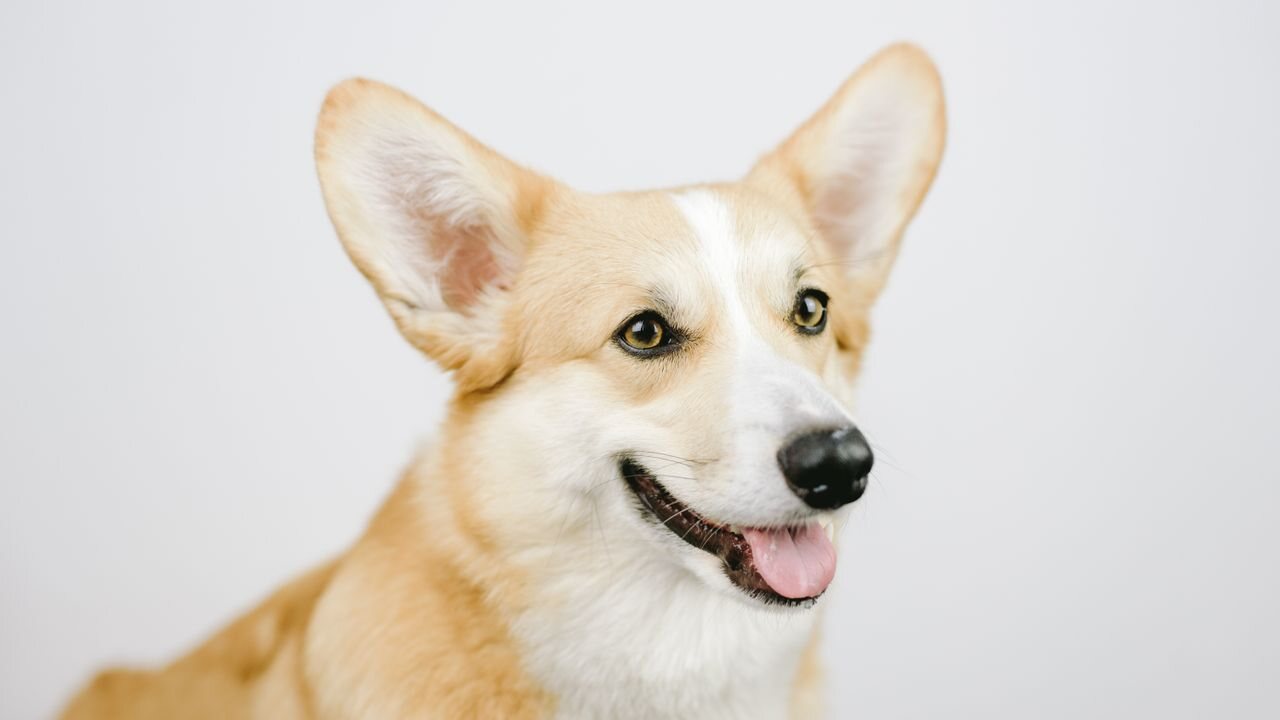
Turning a dog or cat photo into a short dance clip starts with one decision: which picture to upload. The model does not analyze a pet for long. It takes a single reference frame, reads the face, coat pattern, and body shape that are visible in that frame, then builds a short performance around them. What you get back depends more on that photo than on any other setting.
This page is for pet owners who want a realistic idea of what the tool can and cannot do. It covers photo selection, the four look options, common output limits, and the credit cost of a standard render.
Picking a pet photo that will hold up
The photo is not a background element. It is the only source of identity for the animal. A bad photo still produces a video, but the result may show a generic dog or cat that only vaguely matches your pet. A clean photo gives the model a much better chance.
Look for these features before you upload:
- One animal only, not two or more in the same frame.
- The face and chest clearly visible, with the eyes in focus.
- A front-facing or three-quarter pose, not a full side profile.
- Soft, even light from a window or room light, not direct flash.
- A plain background that separates the pet from the wall or floor.
- Enough resolution to show fur texture and markings.
- A still photo, not a blurry action shot or a screenshot of a photo.
A phone photo taken near a window with the pet sitting still is often enough. You do not need a DSLR or a studio setup.
Which look to use for a dog or cat
The studio gives you four looks, and each one changes the feel of the motion without changing the animal's identity. The best choice depends on the pet's build and energy.
| Look | Good for | What you can expect | | -------------- | ---------------------------------- | ------------------------------------------------------------ | | Cute | Cats, small dogs, round-faced pets | Softer hops, smaller movements, keeps markings and ear shape | | Classic bounce | Larger or heavy-set dogs | A weighted bounce that reads as more physical and grounded | | Hype | High-energy dogs, young cats | Faster movement and wider steps, better for active animals | | Smooth groove | Long-haired cats, calm pets | Slower, more fluid motion that suits a relaxed subject |
Start with Cute if you are not sure. It is the most forgiving for small animals and cats because the movement stays compact. If you have a large dog with a heavy build, Classic bounce often looks more natural. The look only changes the motion style, not the coat colour, markings, or facial features.
Realistic limits before you spend credits
A pet dance render is a generated clip, not a recording. The model invents the movement, the camera angle, and much of the background. It keeps the visible details from your photo, but it does not know what your pet looks like from angles that were not in the frame. For that reason, the ears may shift slightly, the tail may appear in a position that was not in the source, and the paws may bend in ways a real animal would not.
Accept these limits before you judge a result too harshly:
- The face can change from frame to frame if the source photo is not sharp or if the animal is turned away.
- Limbs can drift or blur during fast movement, especially at lower resolutions.
- The background may not match your original room. The model can extend the scene from whatever it sees, and it may invent a floor, a wall, or a shadow.
- Long fur, whiskers, and small markings may not survive every frame.
- The clip is a new AI performance. It is not a copy of the original dance video or of any real recording.
- The model does not know your pet's temperament or usual movements. It generates a plausible dance from the reference frame alone.
If your first render looks wrong, the fix is usually in the photo, not the settings. Check the solo subject rule, face visibility, and sharpness before spending more credits.
Step by step: getting a usable pet clip
Here is a numbered checklist that will prevent most wasted renders.
- Pick the sharpest photo you already have, or take a new one near a window.
- Make sure only one pet is in the crop. Crop the other animal out if needed.
- Check that the face is not covered by a paw, hair, blanket, or piece of furniture.
- Decide on a look using the table above. Cute is the safest first choice.
- Keep the default 720p and 12 seconds for the first render.
- Read the credit badge next to the Generate button before you click, so you know the exact cost.
- Review the output once, then try 1080p or a different look only if the first clip is close.
For a deeper look at what the photo-to-dance flow does before you upload, see Photo to dance video: what to expect. If a render fails or looks wrong, the troubleshooting guide has the practical checks.
What a pet render costs
Credit pricing is the same for pets and people. A standard 12-second render at 720p costs 26 credits. The same length costs 12 credits at 480p and 64 credits at 1080p. If you choose a longer duration, the cost scales linearly from the 12-second table and is rounded up to a whole credit.
| Resolution | 12-second cost | | -------------- | -------------- | | 480p | 12 credits | | 720p (default) | 26 credits | | 1080p | 64 credits |
The frame options are 9:16, 16:9, and 1:1. 9:16 is the default because it matches vertical video platforms. The credit amount recalculates before you press Generate, so the final figure is visible on the button.
An email sign-up starts at zero credits. Each account can run one free preview render (480p, 5 seconds) while the daily preview budget lasts, and accounts signed in with Google can claim 10 free credits a day for three days. There is no unlimited or free-forever plan. The smallest pack that covers one standard render is the $19.90 Duo Pack (30 credits). You can buy credits from the pricing page or start directly in the studio. If a render fails, the full credit amount returns to the balance it came from.
What to expect from a cat versus a dog
Dogs usually hold up well as whole-body subjects because their legs and body outline stay readable even when the frame is wider. Cats often do better with a head-and-chest crop because a cat's body can blur into one shape during fast movement. Small mammals, like rabbits or guinea pigs, need an even tighter crop because the model has less standard anatomy to anchor and will lean harder on the face.
The species that work most reliably are common pets with forward-facing faces and visible fur. A calico cat, a spotted dog, or a patterned lizard will keep its markings only if the pattern is visible in the uploaded photo. The model cannot recover detail that the photo does not show.
If you do not have a clear pet photo, text-to-video mode is available. You describe the scene instead of uploading an image, and the model renders from the words alone. The trade-off is that the animal will be generic rather than your specific pet. Text prompts do not carry the same identity anchor as a clear photo, so treat that mode as a creative fallback, not a portrait replacement. For prompt structure, the text-to-video prompt examples guide lists usable descriptions.
What happens to your uploaded photo
The photo path is the same for pets and people. The file is checked by moderation before the render, and a blocked input is refused without spending credits. The finished video is delivered as an MP4 at the resolution you chose. There is no public feed of other people's pets, and the clip is stored against your account. If you delete a render, the record is removed. You can post the clip you generate and use it commercially, as long as you only upload photos you have the right to use and do not present the AI clip as a real recording of a real animal.
FAQ
Will my dog's specific markings show up?
Only if those markings are sharp and visible in the source photo. The model keeps fur colour, patches, stripes, and spots that it can see in the reference frame. A blurry photo or a dark coat against a dark background can cause the pattern to soften or disappear.
Can I put two dogs in one clip?
Doing so usually causes the model to blend the two animals into one figure with mixed features. Crop the photo to a single pet before uploading, or take a solo photo. This is the most common cause of an unrecognizable pet render.
Is the Cute look always the best for pets?
Cute is the safest starting point, especially for cats and small dogs. For a heavy-set dog, Classic bounce can look more physically grounded. Hype suits a very active animal, and Smooth groove works well for a long-haired cat or a calm pet.
How long does a pet render take?
Most standard renders finish in a couple of minutes. Higher resolutions can take longer. The file is delivered as an MP4 at the resolution you selected, and the render stays private to your account.
What if I only have an old, blurry photo of my pet?
You may get a generic animal that only slightly resembles your pet. If the photo is too soft for the model to read the face and fur, text-to-video mode is an alternative, but the output will match the description rather than the specific pet.